Link: Github Repository
Reach me out via LinkedIn, Portfolio Contact Form or mail@pascal-nehlsen.de
Baby Tools Shop
In this blog post, we’ll explore the setup and deployment of the Baby Tools Shop, a Django-based e-commerce application for managing and purchasing baby tools. This project is containerized using Docker and can be deployed to a virtual machine (VM) with ease. We'll cover how to set up the environment, configure the app, and run it in Docker.
Quickstart (README)
Prerequisites
- Python 3.9 and Django 4.0.2
- A virtual environment for Python (venv)
- Docker installed on the target machine
- Setting Up the Python Environment
To get started with the Baby Tools Shop, first, create a virtual environment for Python:
python -m venv your_environment_name
-
Activate the virtual environment:
your_environment_name\Scripts\activate # On Windowssource your_environment_name/bin/activate # On Linux/Mac -
Navigate to the project directory:
cd babyshop_app -
Install Django 4.0.2
python -m pip install Django==4.0.2
- Install Dependencies
Move to the project root and create a requirements.txt file to list all dependencies:
cd ..
nano requirements.txt
- Add the following to
requirements.txt:
Django==4.0.2
pillow==10.4.0
- Apply Migrations
Run Django's migration commands to set up the database:
python manage.py makemigrations
python manage.py migrate
- Create a Superuser
Create a superuser for Django’s admin panel:
python manage.py createsuperuser
You will be prompted to enter a username, email, and password. Ensure you use a DJANGO_SUPERUSER_USERNAME, DJANGO_SUPERUSER_EMAIL, and a DJANGO_SUPERUSER_PASSWORD for this.
- Run the Development Server
Run the Django development server:
python manage.py runserver
- You can access the admin panel at
http://<your_ip>:8000/admin
Log in with your superuser credentials and start creating products!
Configuration
- Modify ALLOWED_HOSTS for Production
To deploy the Baby Tools Shop in a production environment, you need to modify the ALLOWED_HOSTS setting in settings.py to include your server’s IP address or domain name:
ALLOWED_HOSTS = ['your_domain_or_ip']
This ensures your Django app only accepts requests from trusted domains, protecting it against HTTP Host header attacks.
Deploying with Docker
- Create a Dockerfile
In the project directory, create a Dockerfile to containerize the Django app:
# Use an official Python image as the base
FROM python:3.9-slim

# Set the working directory inside the container

WORKDIR /app

# Copy only the requirements file and install dependencies

COPY requirements.txt ${WORKDIR}
RUN python -m pip install --no-cache-dir -r requirements.txt

# Copy the code into the working direction

COPY . ${WORKDIR}

# Change to the app directory and run database migrations

WORKDIR /app/babyshop_app
RUN python manage.py makemigrations && python manage.py migrate

EXPOSE 8025

# This is the command that will be executed on container launch

ENTRYPOINT ["sh", "-c", "python manage.py runserver 0.0.0.0:8025"]
- Build the Docker Image
Copy the project folder to your virtual machine and build the Docker image:
docker build -t app_name .
This command creates a Docker image from your Dockerfile, tagged as app_name, ready for deployment.
- Create Docker Volumes
To persist data across container restarts, create Docker volumes:
docker volume create babyshop_db
docker volume create babyshop_media
docker volume create babyshop_static
- babyshop_db: Volume for storing database data.
- babyshop_media: Volume for storing user-uploaded media files.
- babyshop_static: Volume for storing static files like CSS and JS.
- Run the Docker Container
Run the Docker container using the image you built:
docker run -d --name app_name_container \
  -p 8025:8025 \
  -v babyshop_db:/app/babyshop_app/db \
  -v babyshop_media:/app/babyshop_app/media \
  -v babyshop_static:/app/babyshop_app/static \
  --restart on-failure \
  app_name
This command does the following:
-
Runs the container in detached mode (
-d). -
Maps port
8025on the host to port8025in the container, making the app accessible viahttp://<vm_ip>:8025/. -
Mounts volumes to ensure data persistence.
-
Automatically restarts the container if it fails.
-
Restart policy (--restart on-failure): Automatically restarts the container if it fails, but not if stopped manually.
-
You can access your app at
http://<vm_ip>:8025/
-
- Access the Admin Panel
To create a superuser inside the running container, first list active containers:
docker ps
Then, access the container's terminal:
docker exec -it <container_name_or_id> /bin/bash
Create the superuser:
python manage.py createsuperuser
Once done, exit the container shell:
exit
Now, you can log into the admin panel at:
http://<vm_ip>:8025/admin
Hints and Tips
-
Settings & Configuration: All relevant settings for the Django project can be found in babyshop_app/babyshop/settings.py. This includes settings for the database, static files, and security configurations.
-
Routing Information: You can check the routing details by reviewing the urls.py files located in babyshop_app and its subdirectories. These files define the available routes for users to navigate through the application.
Detailed Explanation (Writeup)
-
Why Use Docker for Deployment? Docker simplifies the process of packaging and deploying applications by providing a consistent environment. By using Docker, you eliminate discrepancies between development and production environments, making the deployment process smooth and reliable. The use of Docker volumes ensures data persistence even if containers are stopped or recreated, which is crucial for production environments.
-
Configuring ALLOWED_HOSTS Django’s
ALLOWED_HOSTSsetting ensures that only requests from specific IPs or domains are accepted, preventing potential security risks like HTTP Host header attacks. For production, it’s essential to replacelocalhostwith your actual domain or IP address to allow external access. -
Docker Volumes for Data Persistence When using Docker, containers are often stateless, meaning data stored inside them could be lost when the container is removed. By using Docker volumes for critical components like the database and media files, you ensure that important data is stored safely, even if the container is destroyed or restarted.
Screenshots
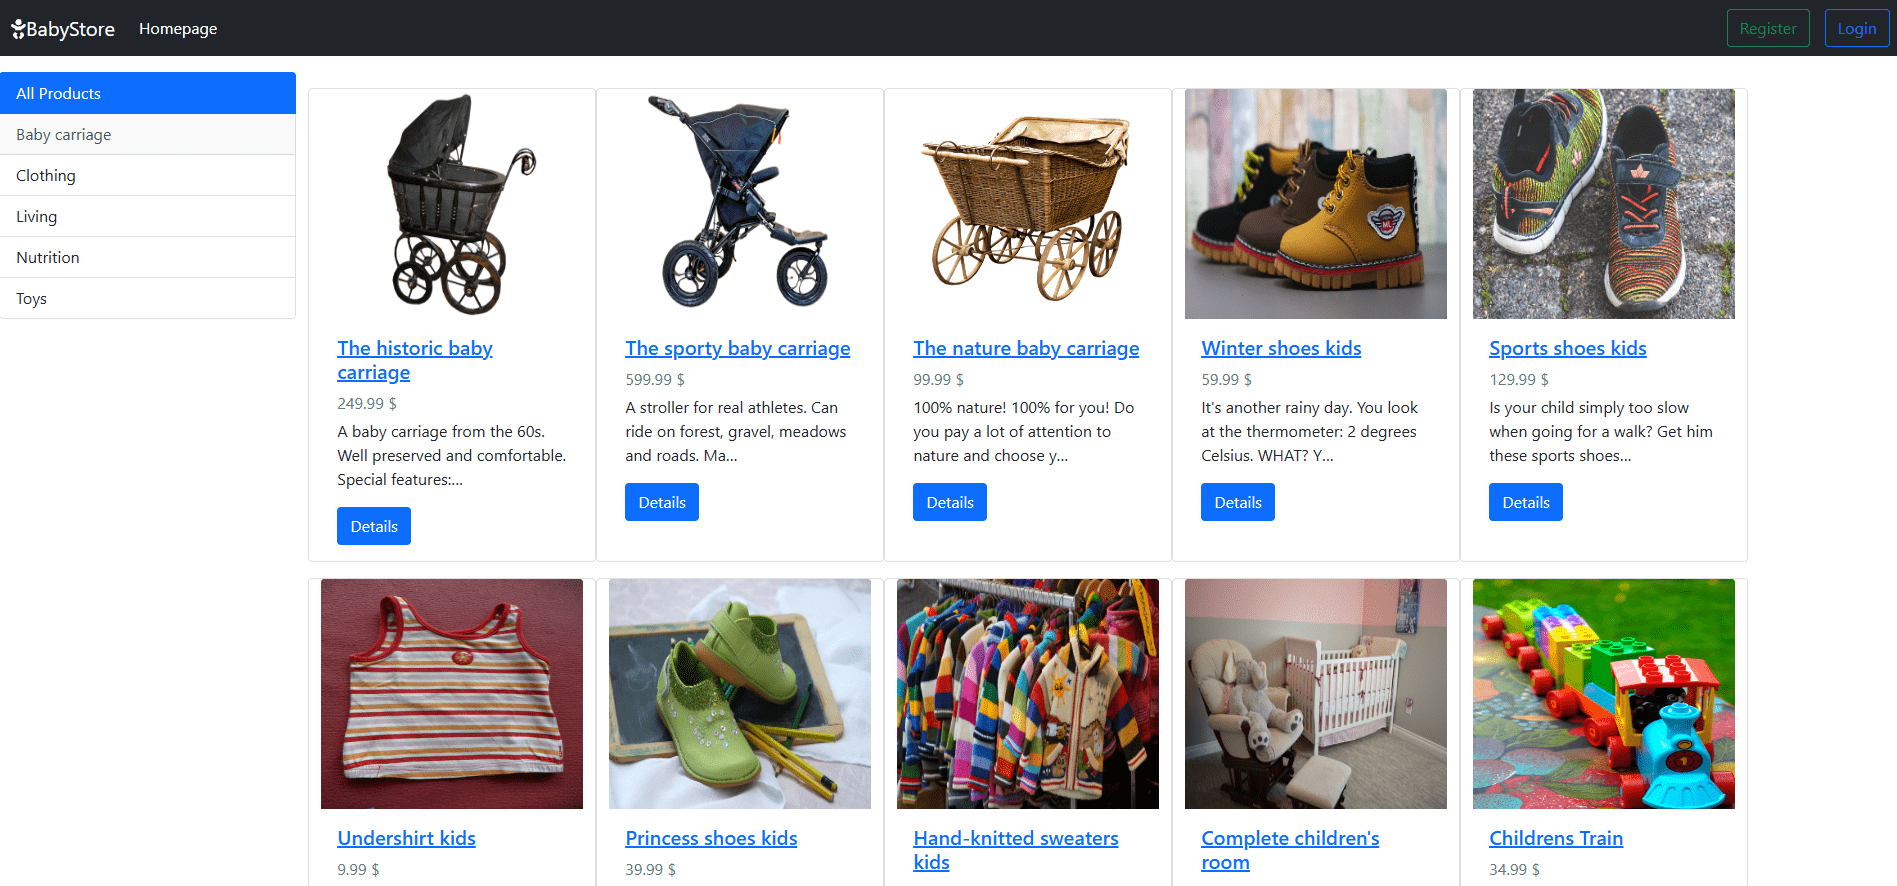
Home Page with login
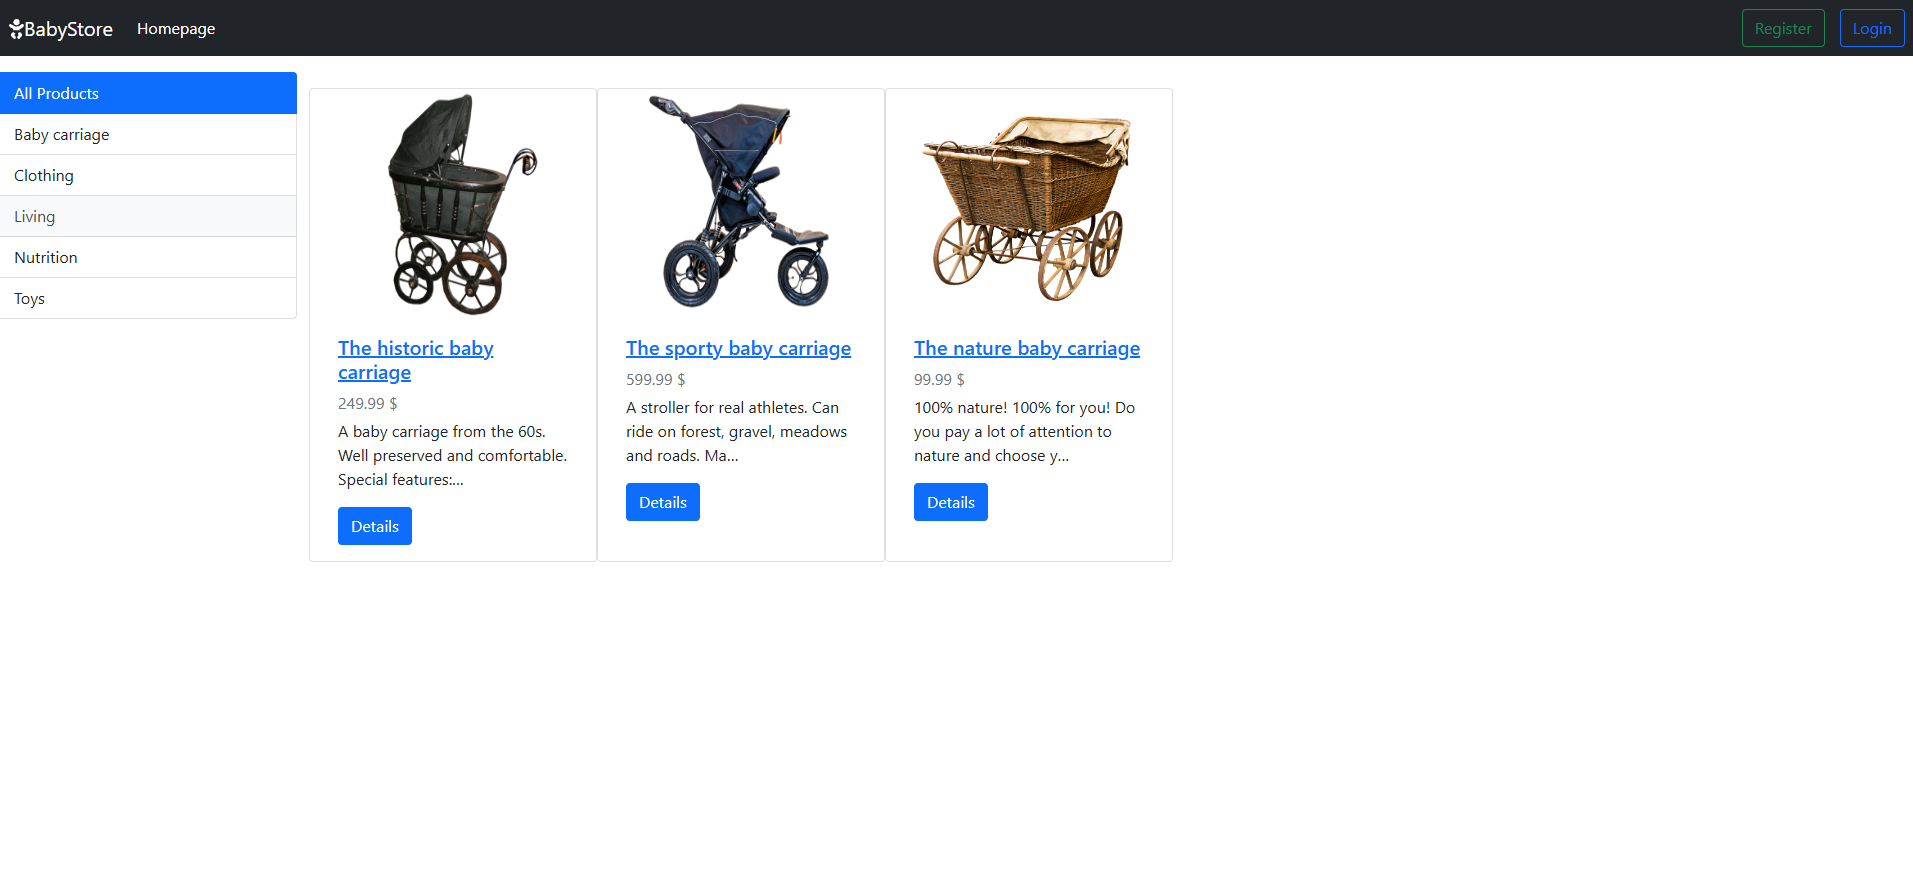
Home Page with filter
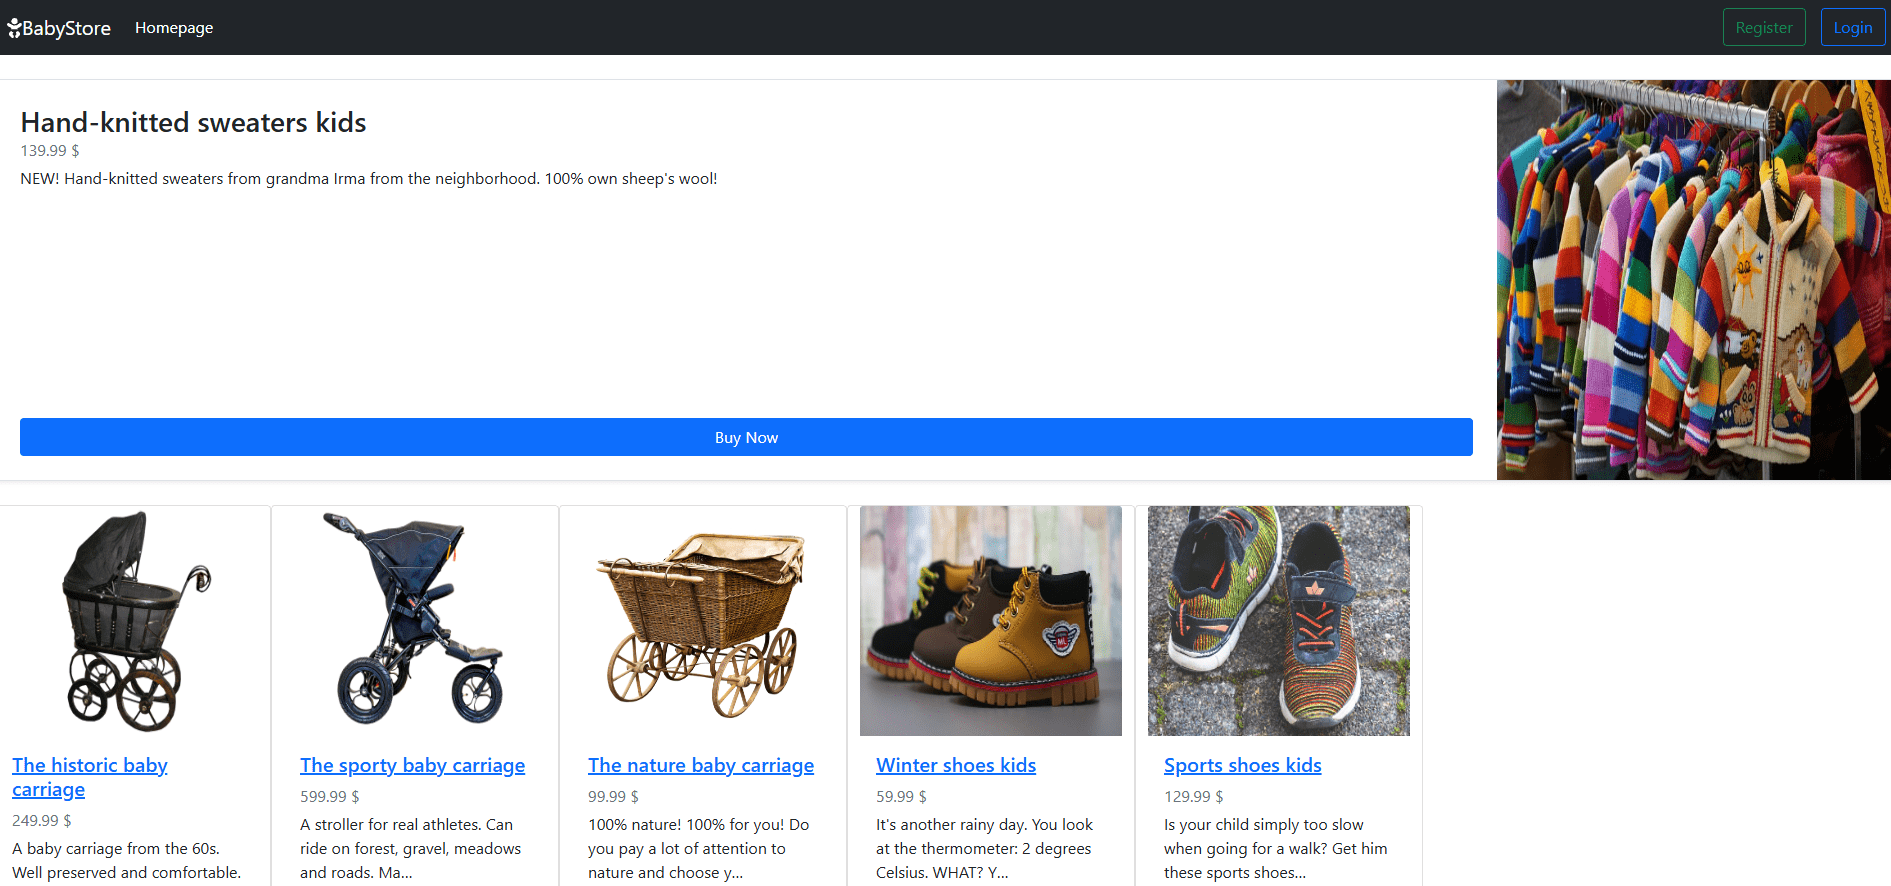
Product Detail Page
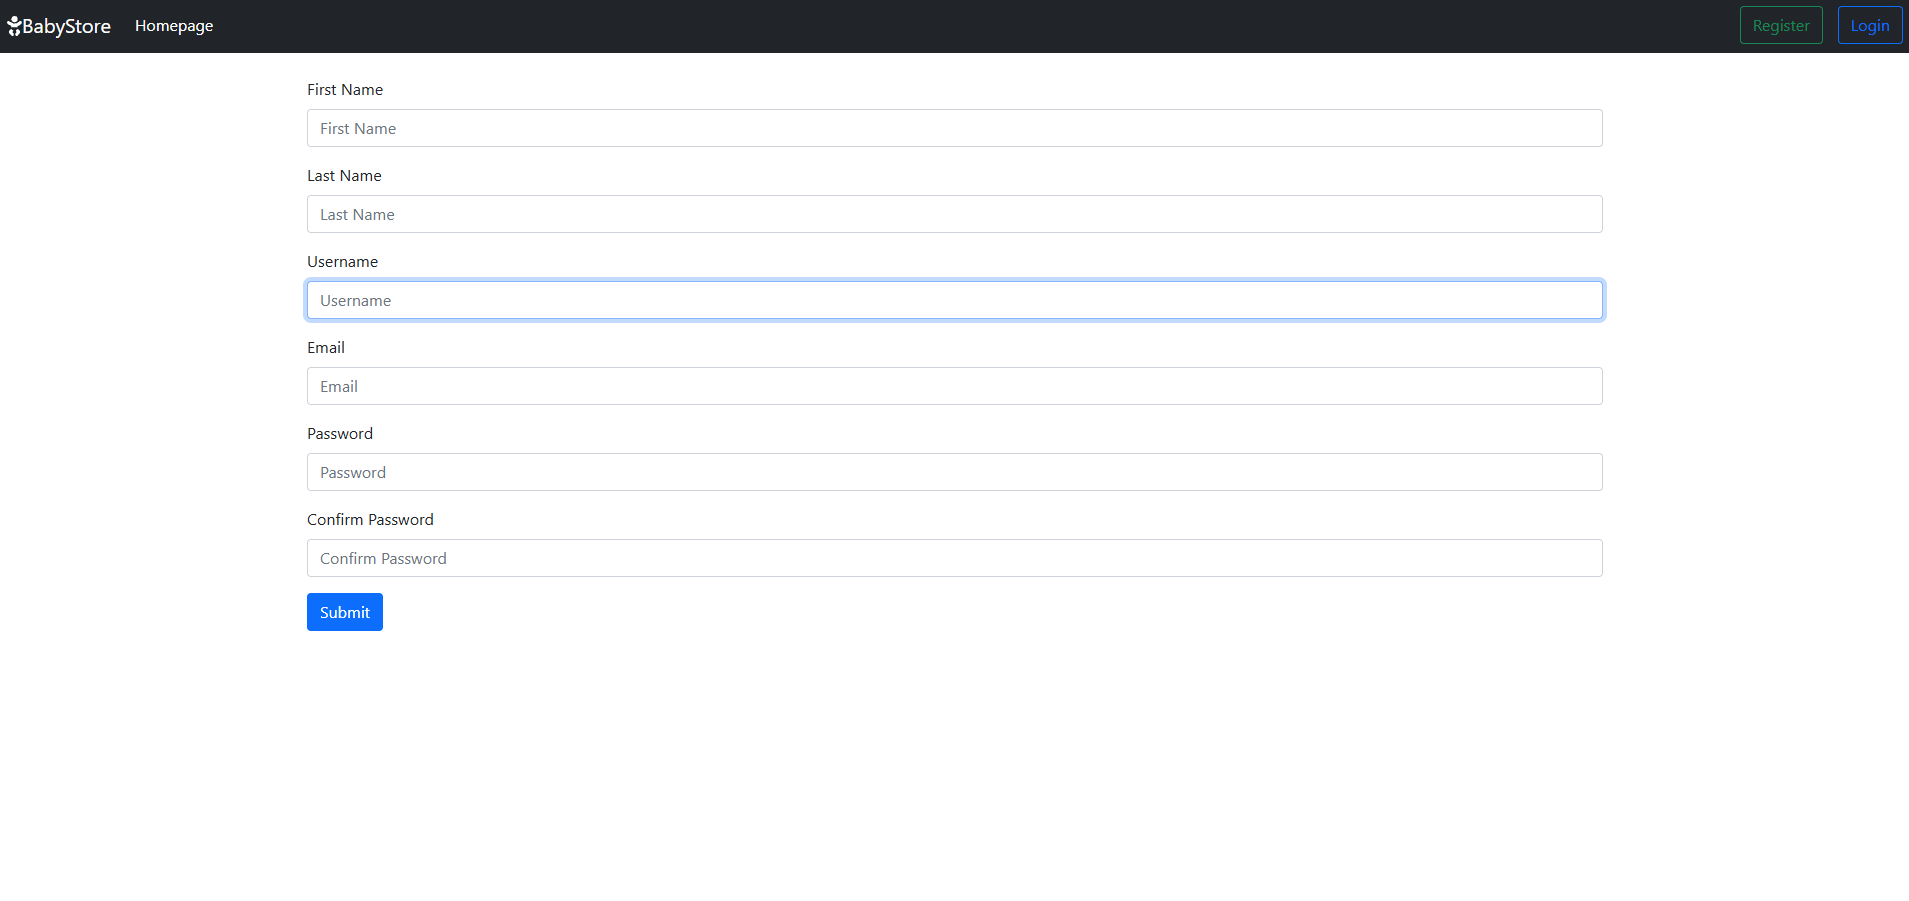
Register Page
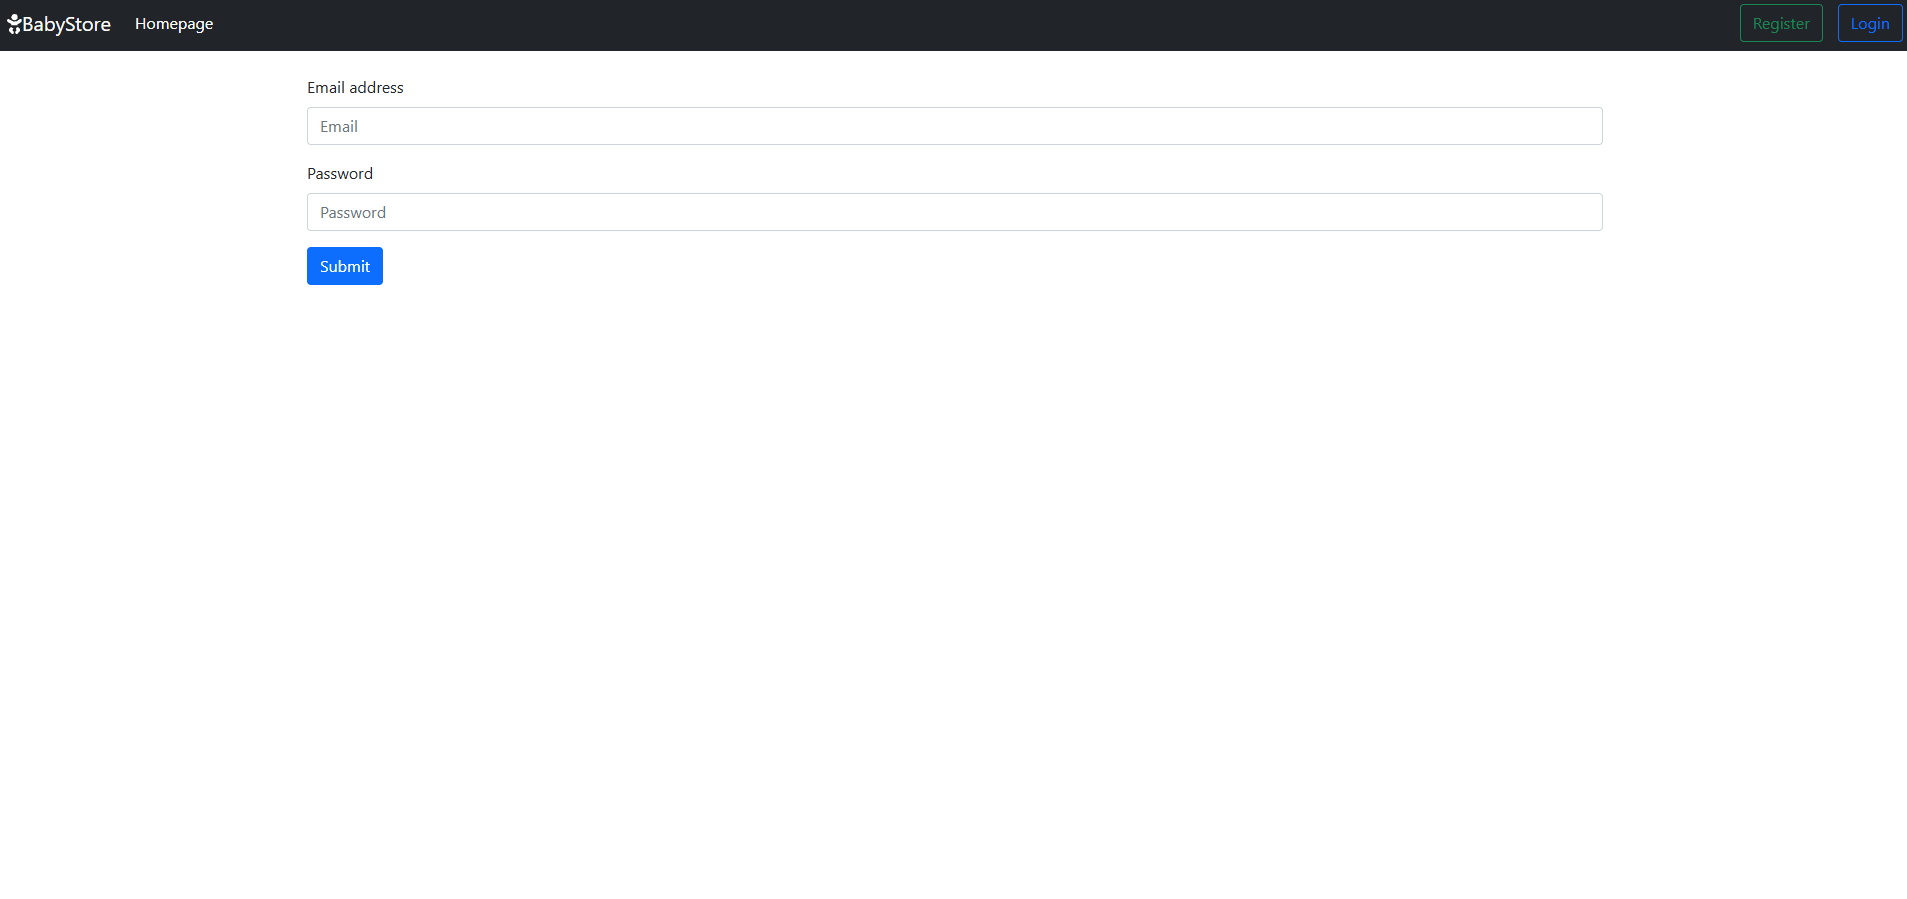
Login Page
Conclusion
The Baby Tools Shop project showcases how to create and deploy a Django e-commerce application using Docker. By containerizing the app, you ensure a smooth and consistent deployment process. Docker volumes help persist data, while Docker’s flexibility allows for easy scaling and management in a production environment.
If you need further assistance, feel free to reach out!